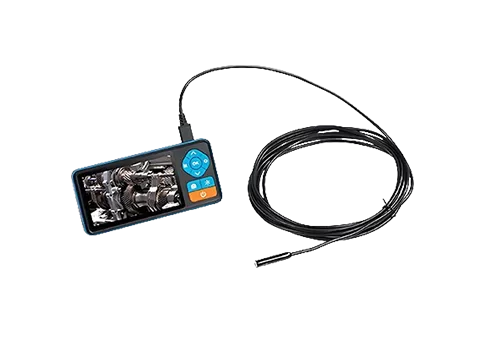
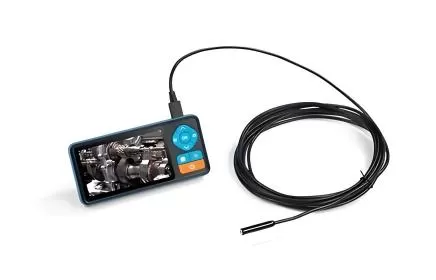
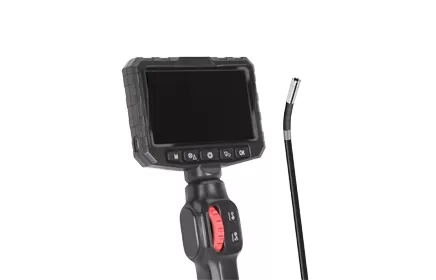
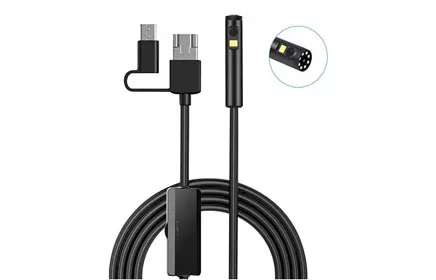
Troubleshooting:
Inspect the inside of equipment (e.g., engines, pipes, turbines, etc.) for wear, corrosion, cracks, or foreign objects.
Locate leaks or blockages.
Quality Control:
Check for weld quality, assembly accuracy or surface defects during the manufacturing process.
Preventive Maintenance:
Regularly check the condition of equipment to detect potential problems in advance and avoid downtime.
Safety Inspection:
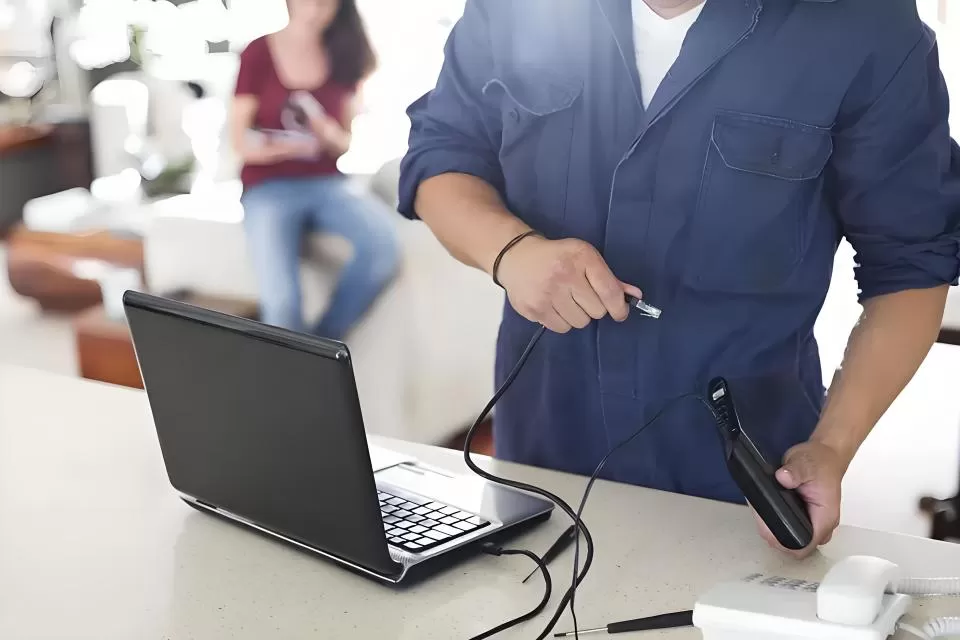
Reduce safety risks by replacing manual inspections in hazardous environments such as hot, toxic or confined spaces.
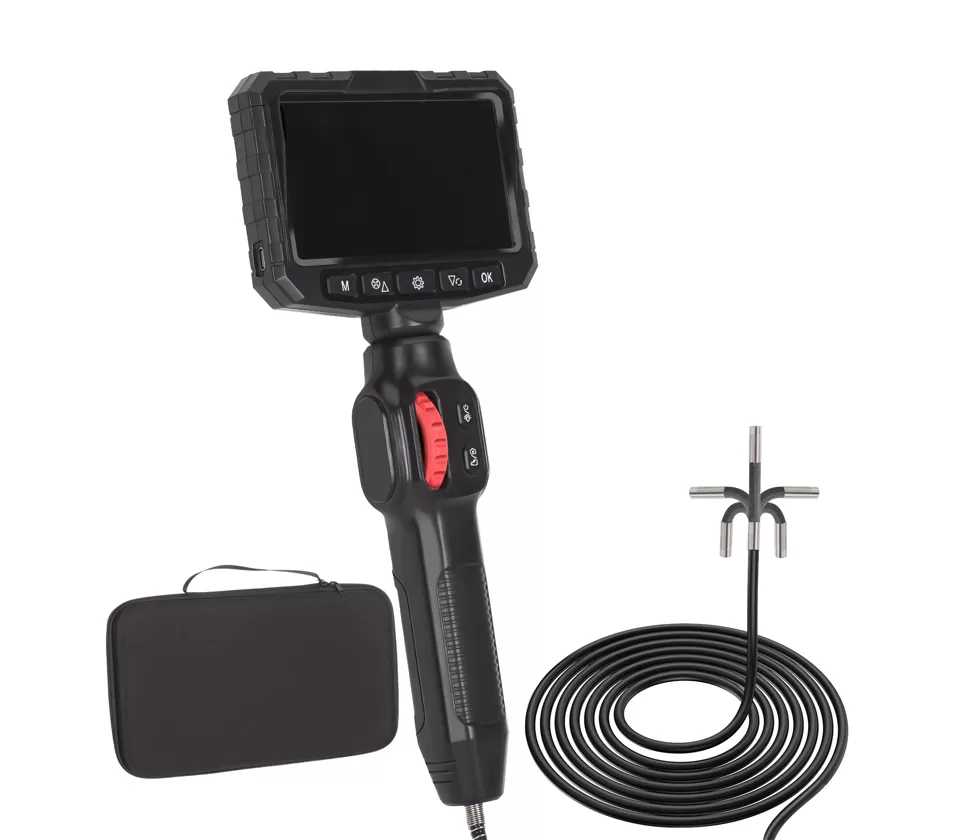
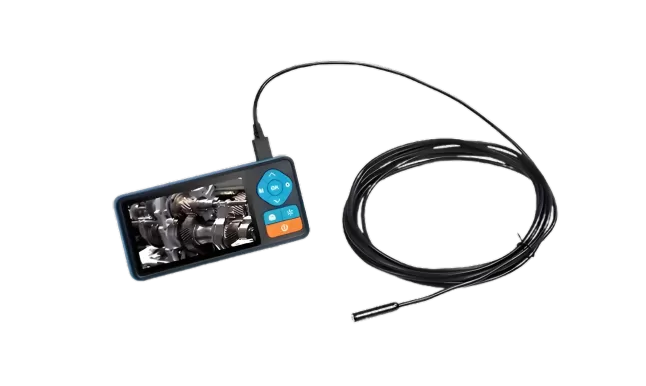
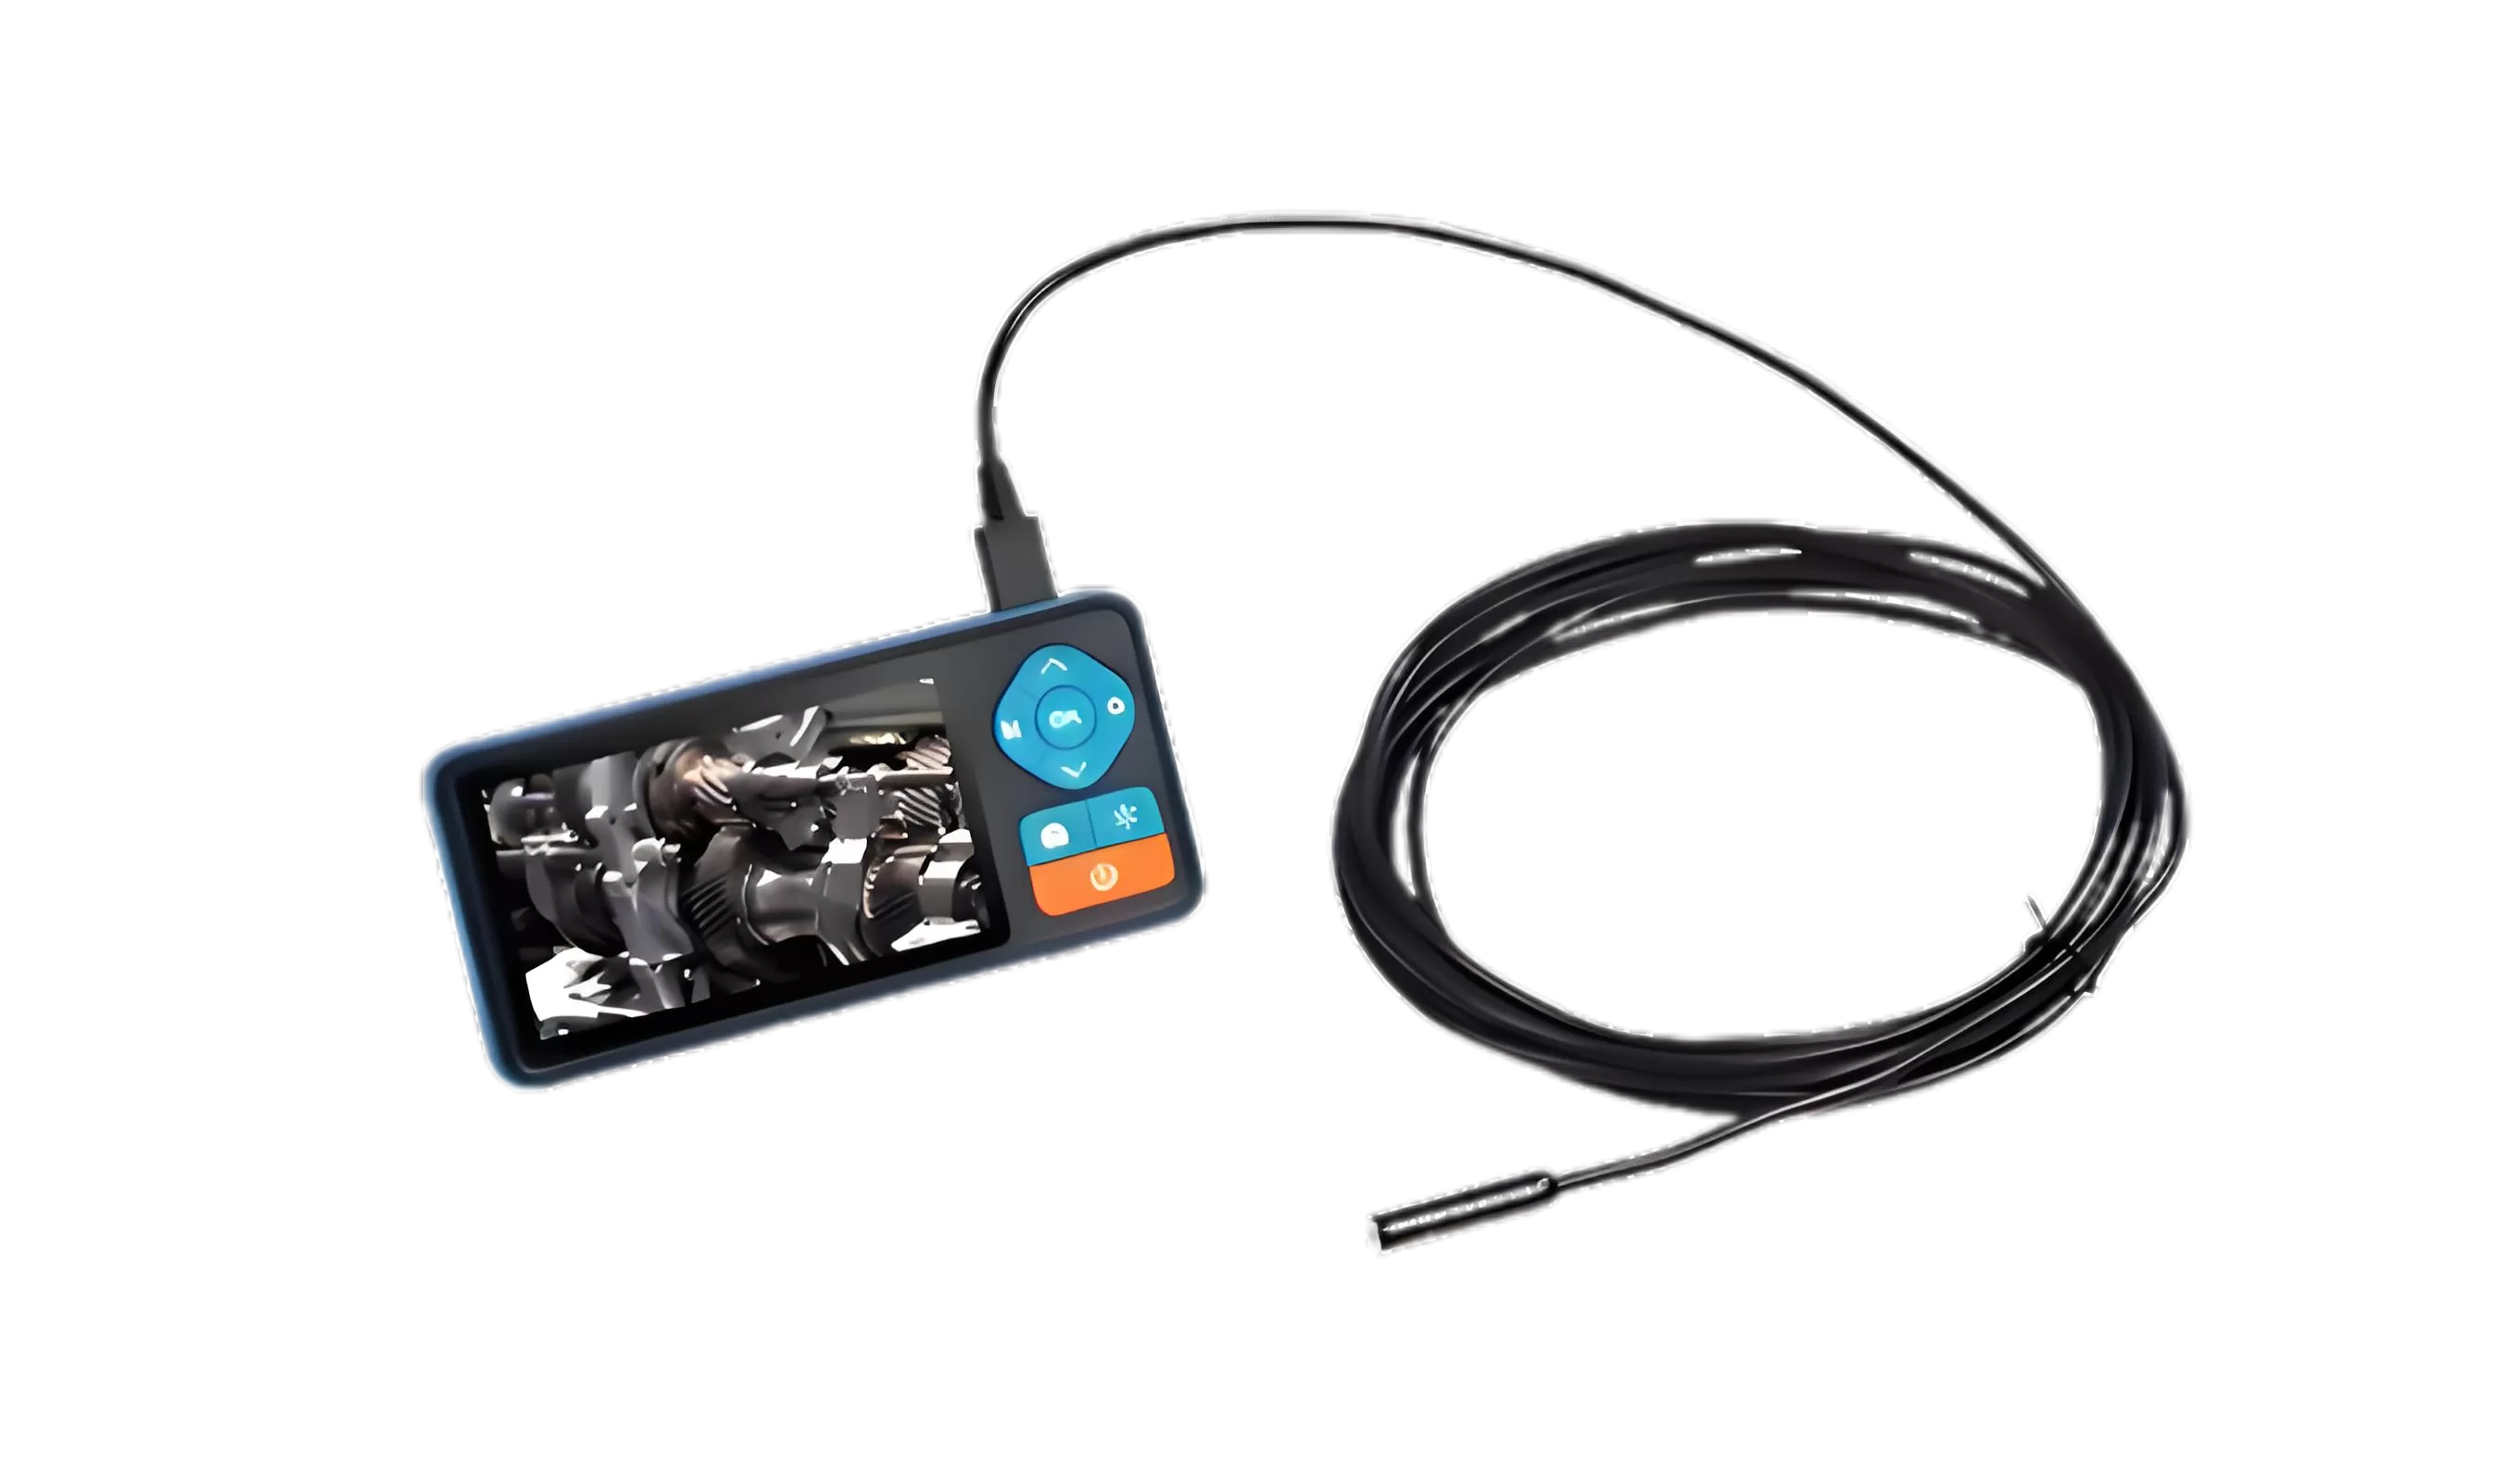
During industrial maintenance and inspection operations, our probes can typically access such structures. We recommend selecting an appropriate probe based on the size of the internal pipes. For example, for standard pipes (10–50 mm), use a probe with a diameter of 3–6 mm, and for extremely narrow spaces (under 3 mm), use an ultra-fine probe with a diameter of 1.2–2.8 mm.
We recommend using the product in conjunction with professional maintenance personnel. However, common defects such as corrosion, wear and tear, and cracks can be captured directly using the product’s built-in high-definition camera and displayed clearly.
High-definition imaging combined with an LED cold light source reduces glare interference, enabling clear visualisation of corrosion, wear and cracks.
Proper maintenance extends the device's lifespan and reduces the risk of malfunctions.
Daily cleaning: After inspection, wipe the probe objective lens with an alcohol-soaked cotton pad to remove any oil residue. After inspecting a pipeline, use compressed air to blow off any debris from the probe surface.
Storage requirements: The probe must be stored coiled (minimum bending radius ≥150 mm) to prevent fibre optic breakage caused by prolonged folding. The main unit should be stored in a dry environment with humidity of no more than 60% and be powered on regularly (at least once a month) to prevent moisture damage to the circuits.